
In today’s digital era, having a strong online presence is crucial for any business aiming to expand its reach and increase sales. Google Merchant Center (GMC) is one of the most effective tools for achieving this, especially for e-commerce businesses looking to advertise products through Google Shopping. However, getting your GMC account approved can sometimes be tricky if you’re unfamiliar with the process or unaware of Google’s policies. This step-by-step guide aims to simplify the approval process, ensuring you can start using Google Merchant Center to enhance your product visibility and drive more sales.
Understanding Google Merchant Center
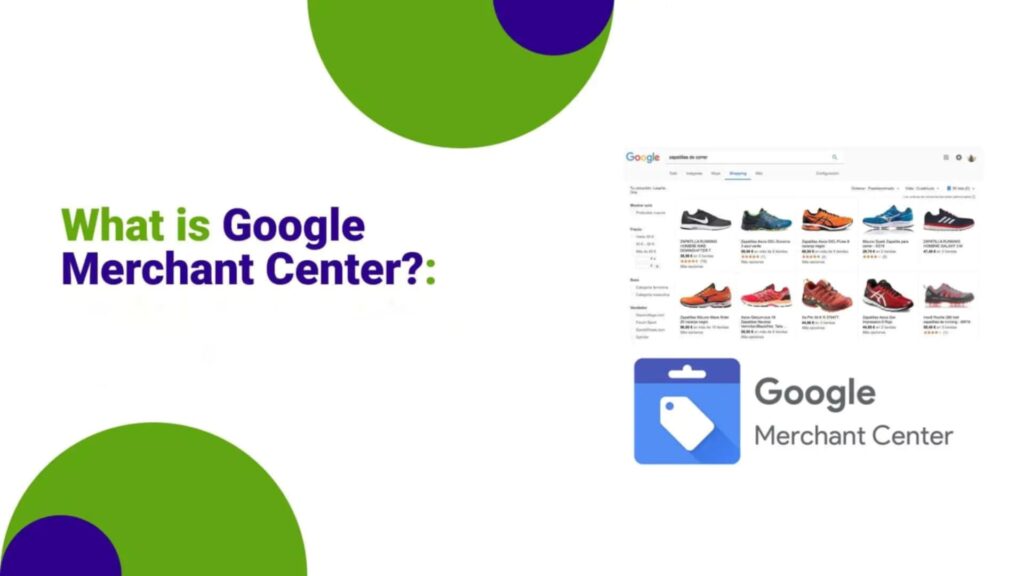
Google Merchant Center is a free tool that allows businesses to upload and manage product information, making it available to Google users. By linking your GMC account to Google Ads, your products can appear in Google Shopping ads, search results, and other Google services, giving you valuable exposure to potential customers.
Getting approved for Google Merchant Center is the first step toward taking advantage of these opportunities. However, before diving into the steps, it’s essential to understand the requirements and policies that Google enforces.
Requirements for Google Merchant Center Approval
Google Merchant Center has several requirements that must be met before your account can be approved. These include business, product feed, and policy requirements. Let’s break these down to ensure you’re fully prepared for the approval process.
1. Business Requirements
- A Valid Website: To use Google Merchant Center, your business must have a fully operational website. The site should clearly display your business name, physical location (if applicable), and contact information. Google needs to verify that the website is functional and provides accurate business details.
- Functional Checkout Process: A smooth, secure checkout process is critical. Google requires that the checkout system on your website is working and that customers can make purchases without issues. If customers face difficulties during checkout, your account may be flagged for disapproval.
2. Product Feed Requirements
Google relies on a product feed that contains all your product details, which is uploaded to the Merchant Center. The feed must meet specific standards to ensure accuracy and relevance. Here are the key elements to focus on:
- Product Titles and Descriptions: Product titles should be clear, concise, and include relevant keywords. Descriptions should accurately reflect the product, including all essential details like size, color, and features.
- Product Prices and Availability: Ensure that the prices and availability listed in your feed match what’s displayed on your website. Google regularly checks for consistency, and discrepancies can result in disapproval.
- Data Feed File Types: Google accepts various file types for your product feed, including XML and TXT files. You’ll need to choose the format that best suits your business and is compatible with your e-commerce platform.
3. Google Policies
- Prohibited Products: Google has strict policies regarding the types of products that can be sold through its platform. Make sure you are not attempting to list prohibited items like illegal products, weapons, or counterfeit goods.
- Adherence to Google’s Shopping Ads Policies: Google requires that your product listings adhere to their Shopping Ads policies, which include guidelines for clear pricing, return policies, and more. Violating these policies can lead to suspension.
4. Account Verification
Google needs to verify your website before approving your Merchant Center account. This involves proving that you own the website you’re using for your business. Google offers several methods for verification, such as adding a meta tag to your website’s HTML code, uploading an HTML file, or using Google Analytics or Google Tag Manager to verify your site.
Step-by-Step Guide to Getting Approved
Now that we understand the requirements, let’s walk through the process of getting your Google Merchant Center account approved.
1. Set Up Your Google Merchant Center Account
The first step is to create a Google Merchant Center account. Visit the Google Merchant Center website and sign in using your Google account. During the setup, you will be prompted to enter important details about your business, such as:
- Business Name: Ensure that the name on your Merchant Center account matches your business’s name on your website.
- Website URL: Enter the website URL where customers can view and purchase your products.
- Country and Currency: Select the country and currency for your business. This information will be used for regional targeting in Google Shopping ads.
2. Link Your Google Ads Account
After setting up your Google Merchant Center account, the next step is to link it to your Google Ads account. This is necessary because Google Shopping ads require a connection between the Merchant Center and Google Ads. Linking the two accounts allows you to manage your campaigns and track performance from one platform.
To link your Google Ads account, go to the “Linked Accounts” section in your GMC settings and follow the prompts. You will need to sign in to your Google Ads account and approve the connection.
3. Add and Verify Your Website
The next step is website verification. Google requires proof that you own the website where you’re selling products. This is a necessary step for getting your Merchant Center account approved.
There are a few ways to verify your website:
- HTML File Upload: Google provides an HTML file that you can download and upload to your website’s root directory.
- Meta Tag: Alternatively, you can copy a meta tag provided by Google and paste it into the <head> section of your website’s homepage.
- Google Analytics or Google Tag Manager: If you already use Google Analytics or Tag Manager, you can verify ownership using one of these tools.
Once the verification method is complete, Google will confirm that your website is successfully verified.
4. Create a Product Feed
The most important part of your Merchant Center account is the product feed. This feed contains the details of all the products you want to advertise, such as titles, descriptions, prices, and availability. A correctly structured product feed is essential for getting your account approved.
Here’s how to set it up:
- Structure Your Feed: The product feed should be structured according to Google’s specifications. At a minimum, your feed should include product titles, descriptions, images, prices, and availability.
- Automated vs. Manual Feed: If you have a large inventory, setting up an automated feed is the most efficient option. This involves using a plugin or a third-party tool to automatically update your product feed. Alternatively, you can manually upload a feed file in formats like XML or TXT.
5. Ensure Policy Compliance
Before submitting your feed, review Google’s product listing policies to ensure compliance. Some common issues to watch out for include:
- Misleading Product Titles: Make sure your product titles are clear and not misleading.
- Inaccurate Pricing: Ensure that the price on your website matches the price in your feed.
- Shipping Information: Your feed should include correct shipping details, including shipping costs, methods, and delivery times.
6. Submit Your Feed for Review
After completing your feed, the next step is to submit it for review. Google will review your product listings to ensure they meet their policies and requirements. This process usually takes a few days, but it may take longer depending on the size of your feed.
If there are any issues with your feed, Google will notify you, and you’ll need to fix the errors and resubmit it. Common reasons for disapproval include incorrect product information, policy violations, or website issues.
Common Issues and How to Fix Them
During the approval process, you may encounter some issues that can delay or prevent approval. Here are a few common issues and how to resolve them:
- Disapprovals: If your feed is disapproved, Google will provide a reason. Review the error and fix it by adjusting your feed or website, and then resubmit for review.
- Suspensions: Account suspensions often occur due to violations of Google’s policies. If your account is suspended, carefully read the suspension notification and appeal the decision if you believe there was an error.
Tips for Maintaining Google Merchant Center Approval
Once your account is approved, maintaining compliance is essential to avoid future issues. Here are some tips:
- Regularly Update Your Product Feed: Ensure that your product feed is always up to date with accurate pricing, availability, and other details.
- Monitor Your Account: Regularly check your Google Merchant Center account for any policy violations or warnings that may arise.
- Stay Informed About Google’s Policies: Google periodically updates its policies, so stay informed about any changes to avoid accidental violations.
Conclusion
Getting your Google Merchant Center account approved is an essential step in leveraging Google Shopping ads to increase your product visibility and sales. By following the steps outlined in this guide and ensuring that your product feed and website comply with Google’s requirements, you can successfully get approved and begin benefiting from the exposure that Google offers. Keep your product information up to date, stay compliant with policies, and your Merchant Center account will be a valuable tool for driving traffic to your website and growing your business.


